If you don’t know what to do with your Saturday, and you have a Raspberry Pi and some game controllers lying around, you could spend your day playing classic video games by following our tutorial!
If you are between 20 and 40 years old, you will probably be somewhat nostalgic about old video games. Rediscovering the joys and hardships of a game of Bomberman, the intensity of Metal Slug, the delirious gameplay of Earthworm Jim or the frustration of Ghouls’n Ghosts is now something that almost anyone can do. When old gaming consoles began to fail, a community of passionate gamers began developing emulators to allow old video games to be played on modern-day computers. MAME is probably the best-known emulator.
However, emulation and retro-gaming were, for a long time, reserved for those gamers who were not afraid to tinker with hardware. And the best that could be hoped for when emulating old games was playing buggy games on a ridiculously small 27-inch display. Nowadays, however, emulators have been refined by talented coders with the intention of democratizing retro-gaming. And since we are fans of old technology ourselves, we created our own little retro multi-console using a Raspberry Pi. By following this guide, you can build your own too.
Hardware and software requirements:
Time required: 30 minutes
Hardware
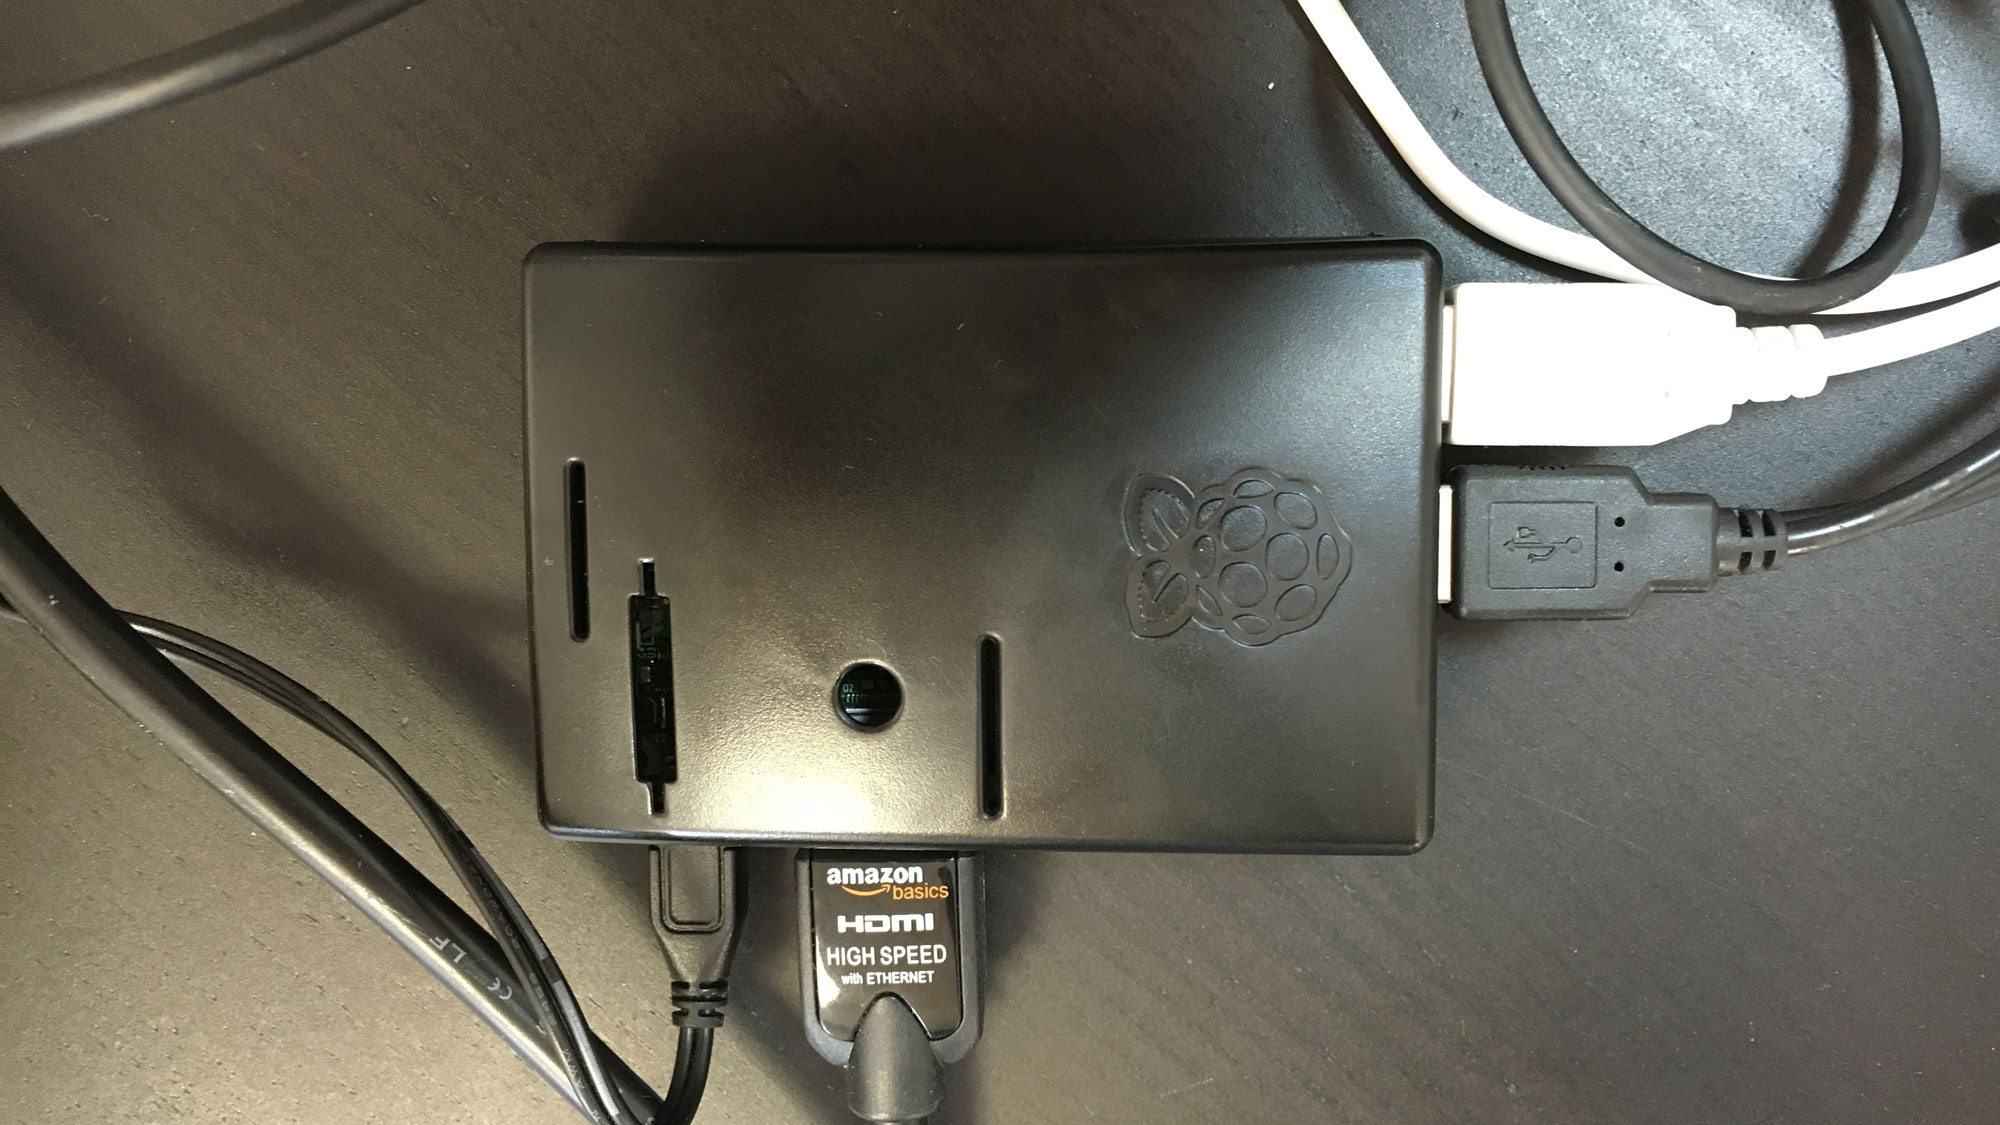
- A second or third generation Raspberry Pi (preferably with a WiFi dongle)
- A wired keyboard
- A wired mouse
- An HDMI cable
- A MicroSD memory card (8 GB minimum)
- Controllers (we recommend using conventional Xbox 360 controllers, but we also tested out Razer Forge and Nvidia Shield controllers and they work perfectly well)
- Long micro-USB cables
Software
- Internet access via any desktop OS
- The latest version of Recalbox, which can be downloaded here
- Software to format your SD card
Prepare your Raspberry Pi
As a first step, you will need to install the Recalbox BIOS on your Raspberry Pi. If you have already downloaded it, you will need to install it onto your MicroSD card; thanks to the talented coders who developed Recalbox, this OS is extremely easy to use.
- Insert your MicroSD card into your computer or card reader (use an adapter if necessary).
- Launch the formatting software and format your memory card (use the default settings).
- Unzip the file recalboxOS.zip and copy all of the files it contains to the root directory of your MicroSD card.
- Put the MicroSD card in your Raspberry Pi and connect it to a display, mouse, and keyboard.
- Once turned on, the OS will install itself: you can choose your preferred language from the first menu to be displayed.
After a few minutes, Recalbox will appear on your screen. At this point, you will have almost finished setting up your console.
Configuring Recalbox
Controls and controllers
You should keep your keyboard connected for a while, you will need it quite a bit during the Recalbox’s initial setup. By default, keys Q and S are assigned to buttons A and B of a controller. This means that the Q key will allow you to make a selection and that the S button will allow you to return to the previous menu. The Enter key will make the dialog box – which serves as a menu – appear.
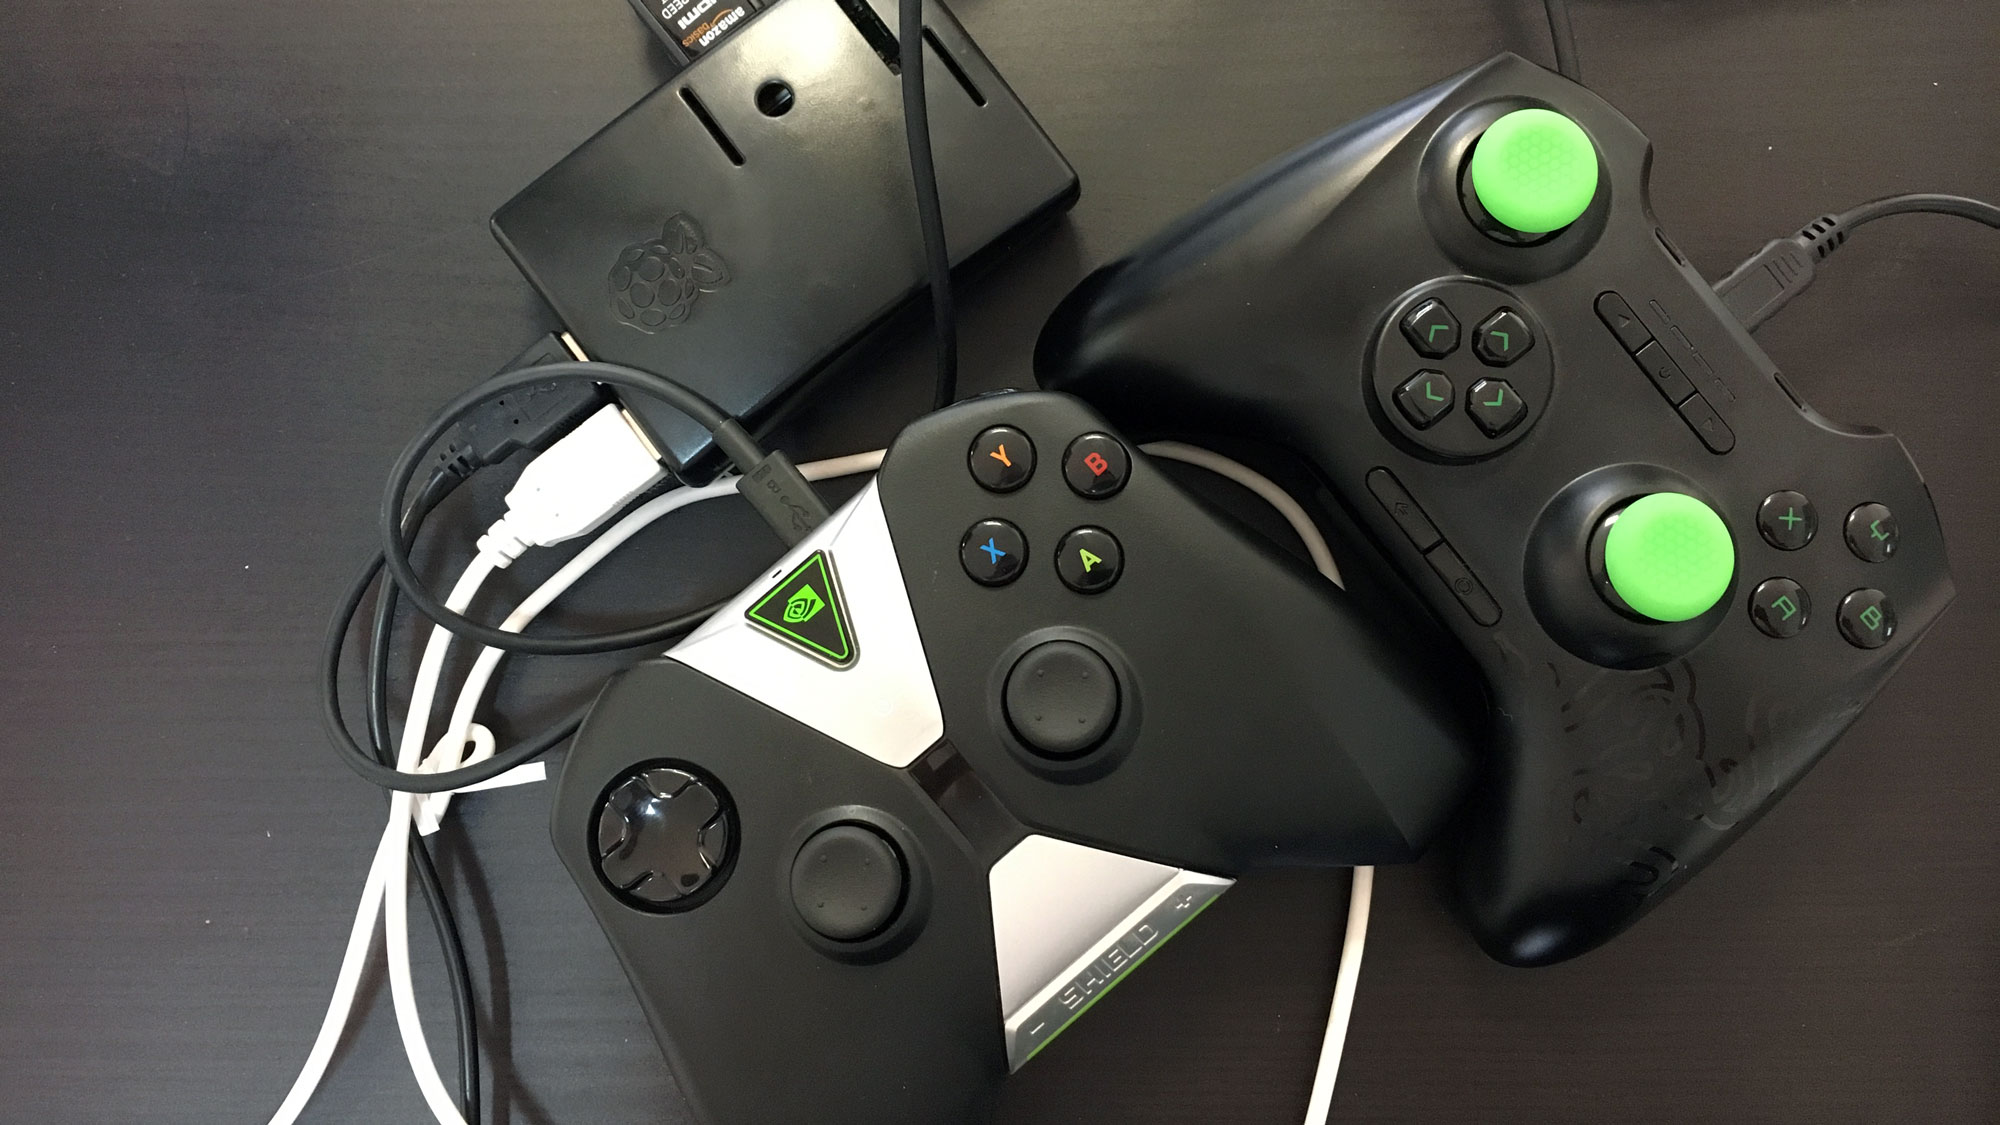 Configuring a controller is easy: you simply need to connect the controller to one of the Raspberry Pi’s USB ports for it to be automatically recognized by the system. Next, go to Controller Settings for a more precise configuration of the controller’s buttons. We tested the Recalbox using a Nvidia Shield console controller, a Razer Forge TV box controller as well as an Xbox 360 controller, all three of which were recognized without any difficulties and worked perfectly.
Recalbox recommends using PlayStation 3 controllers via Bluetooth, which seems like an ideal solution for playing among friends and not having to worry about wires, but we were unable to get our Recalbox to work with our PlayStation 3 controllers. Of course, with some tweaking, it should be possible to use this type of controller, however, the objective of this article is to offer a console that can be used right away.
Installing games
Recalbox is remarkably simple, and to begin playing games, you will not even need to copy over any files from your computer. All transfers can be done directly via your local network’s WiFi connection.
You will simply need to enter the menu, select Network Settings and enter your network’s SSID into the Wifi SSID field. Make sure you enter it into the correct field. Into the Wifi Key field, enter your network key. Validate the information by selecting Back: a dialog window will indicate that the changes have been successfully saved.
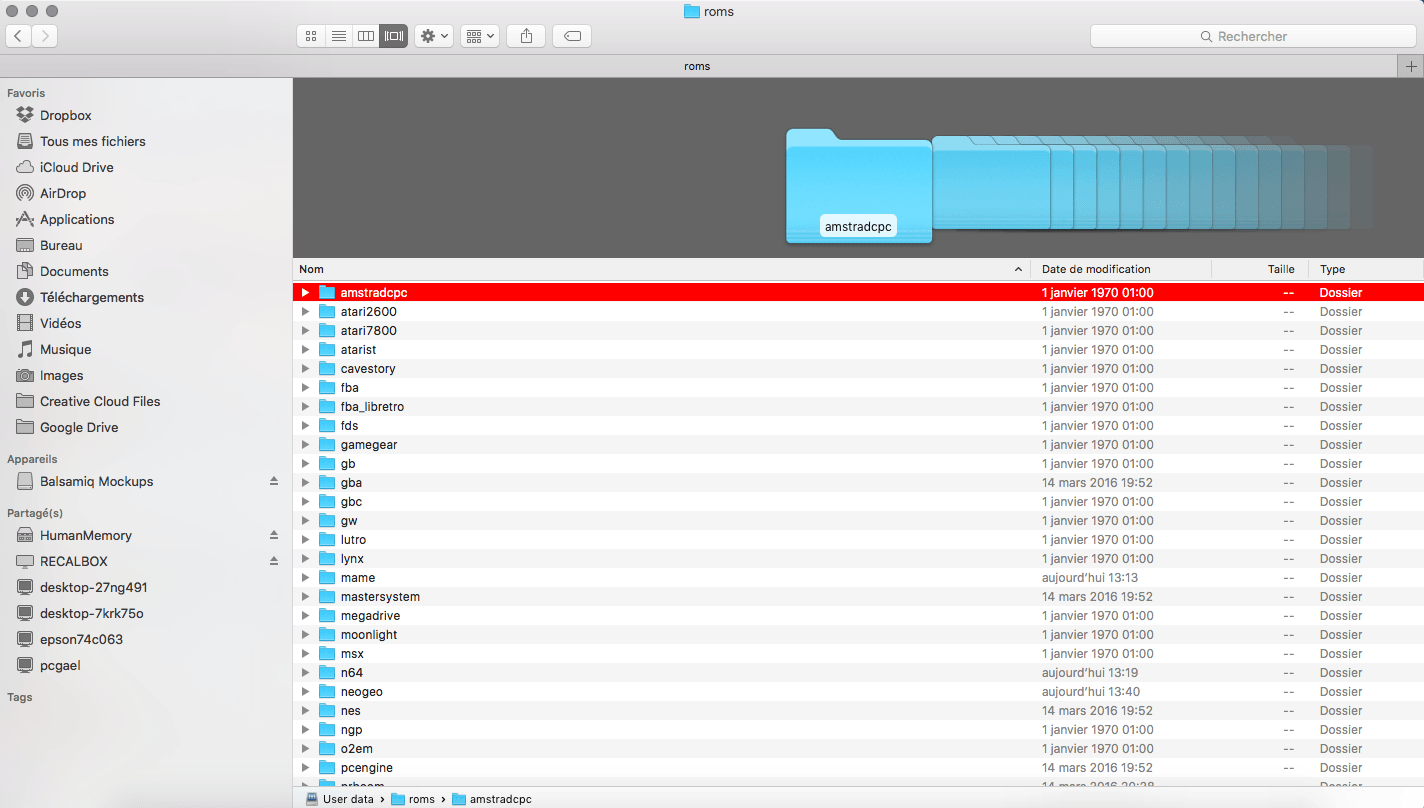
At this point, you can return to your PC and you will have access to your RECALBOX network disk from within file explorer. Click on this disk, navigate to the folder called roms. All you have to do is copy-paste a rom into the folder corresponding to its console. Some roms need to be zipped, others need to be in the console’s corresponding format: open the read-me.txt file which comes which each rom to find out what format it needs to be in.
 You should be aware of the fact that downloading old games to play them on emulators is, in principle, illegal without express prior consent. That having been said, emulating these games is more or less tolerated by game studios and authors since they are either dead, have better things to do or no longer hold the copyright to the game in question (under US copyright law).
In other cases, any copyright claims may have been abandoned or there simply isn’t anyone remaining at a particular company to make such a claim. Websites such as PDRoms which are overflowing with downloadable ROMs claim that all of the content that they host on their sites is either Freeware or Donation Ware or that it is open source or public domain software.
Play!
Once you have transferred a few games into their corresponding folders, you can enter Games Settings and select Update games lists in order to update the emulator’s list of games. You should be aware of the fact that it is normal not to see the full list of consoles appear: a console will only appear if there is at least one game contained within its corresponding folder.
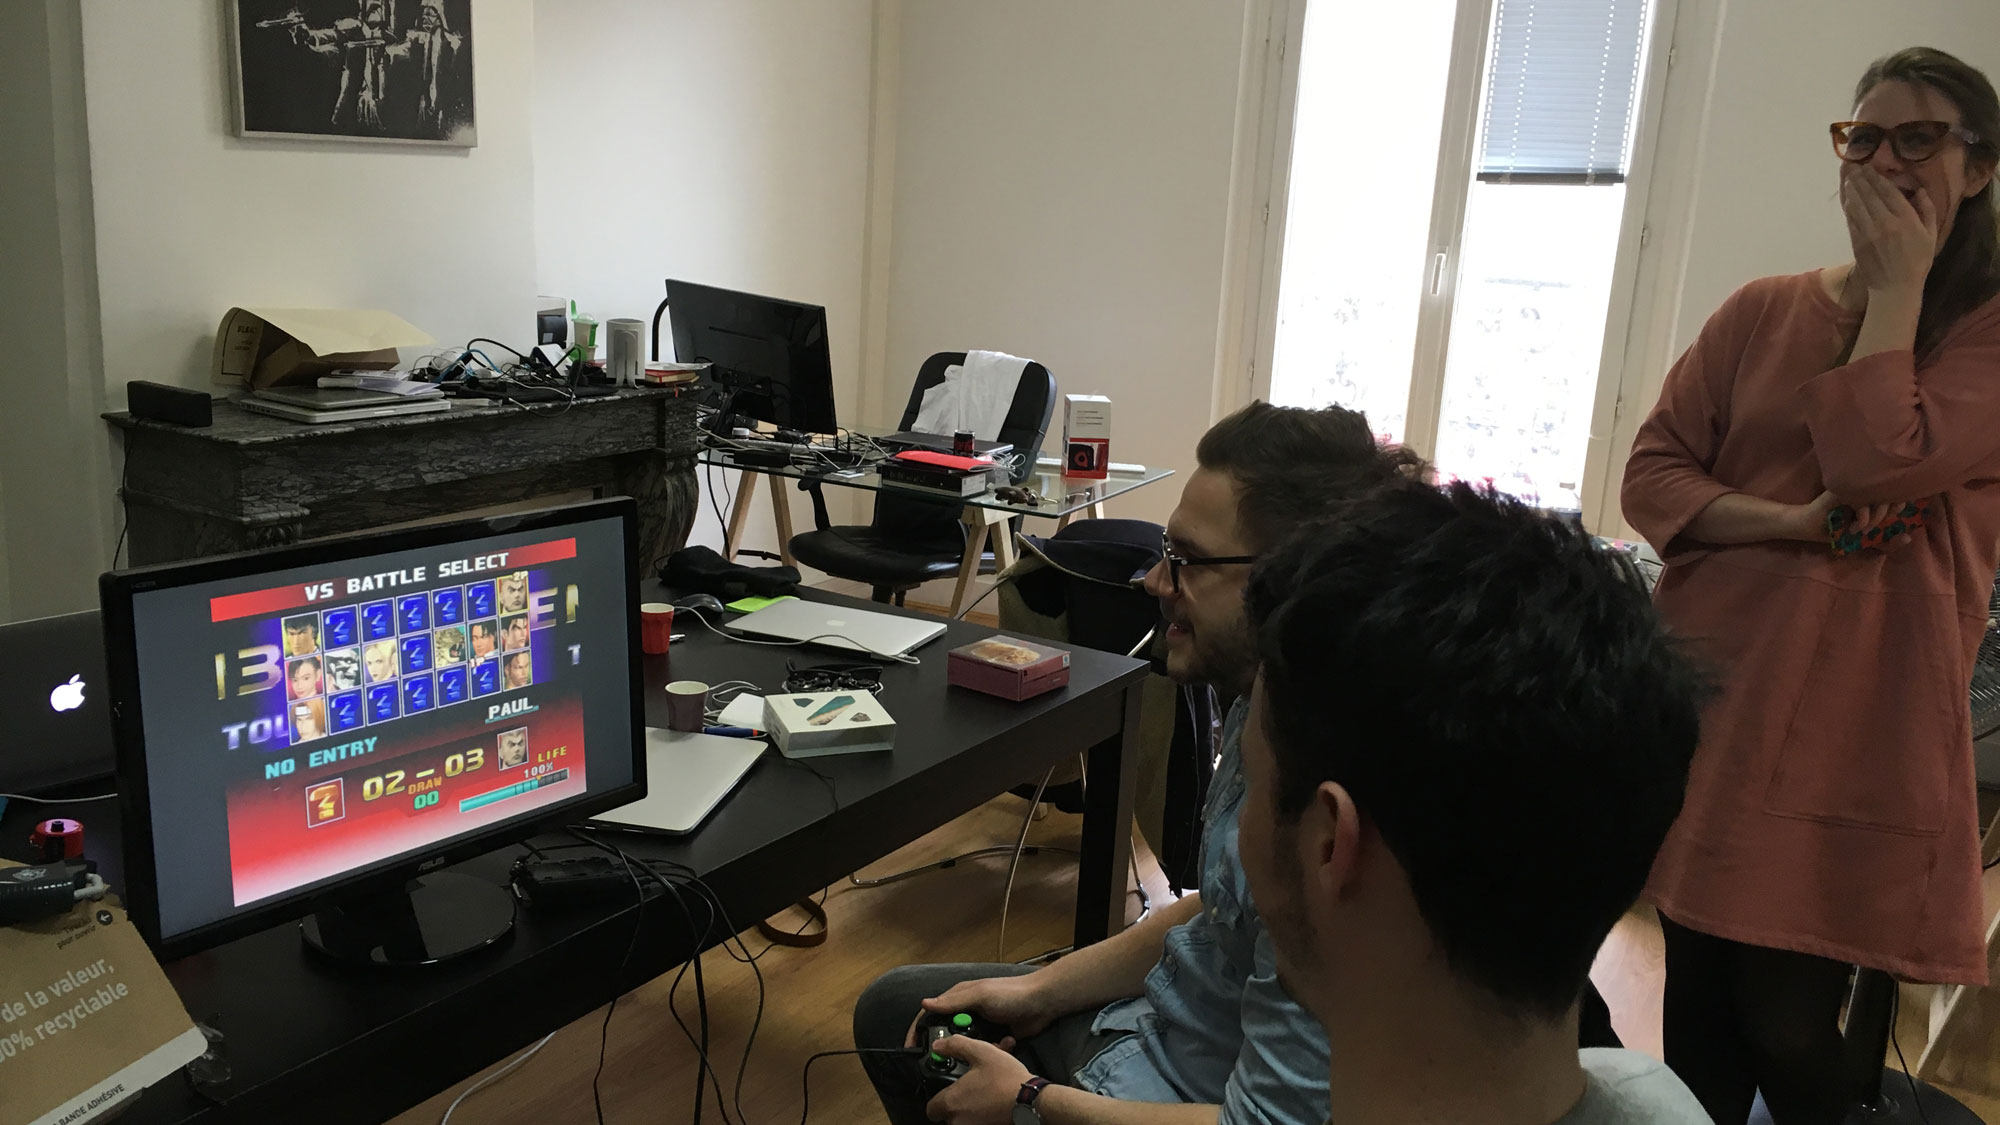
During our testing, we were able to play NES, SNES, Nintendo 64, and PlayStation (PS1) games without any difficulties – even in multiplayer mode. We had some trouble running Neo Geo which requires a specific BIOS: we will be updating this guide with the instructions needed for the advanced configuration of the Recalbox. If you are having trouble and can’t wait for these instructions, you should know that the game creator and the game’s community are very active on the official forum. You can also refer to the Recalbox manual.
If you have any difficulty exiting any games, simply reconnect your keyboard and press the Escape key which will bring you back to the Recalbox menu.

 Installing a PS3 controller – via Bluetooth
 Installing a PS3 controller – via Bluetooth
If you are used to PlayStation hardware and don’t really care for the Xbox 360 controller, we have found a simple solution to allow you to use your wireless PS3 controllers with your Recalbox.
You will be required to purchase a natively compatible Bluetooth dongle. This little device can be found on Amazon for around 10 dollars. Next, you will need to follow these steps:
- Insert your dongle into the Raspberry Pi. No configuration is needed, it will be automatically configured by your Recalbox.
- Connect a PS3 controller to your Recalbox using any free USB port.
- Wait 10 seconds.
- Disconnect the PS3 controller and press the Home button.
It’s as simple as that! You can find out the interface commands directly from the Recalbox, but if you know how to navigate a console, you should not be too lost.